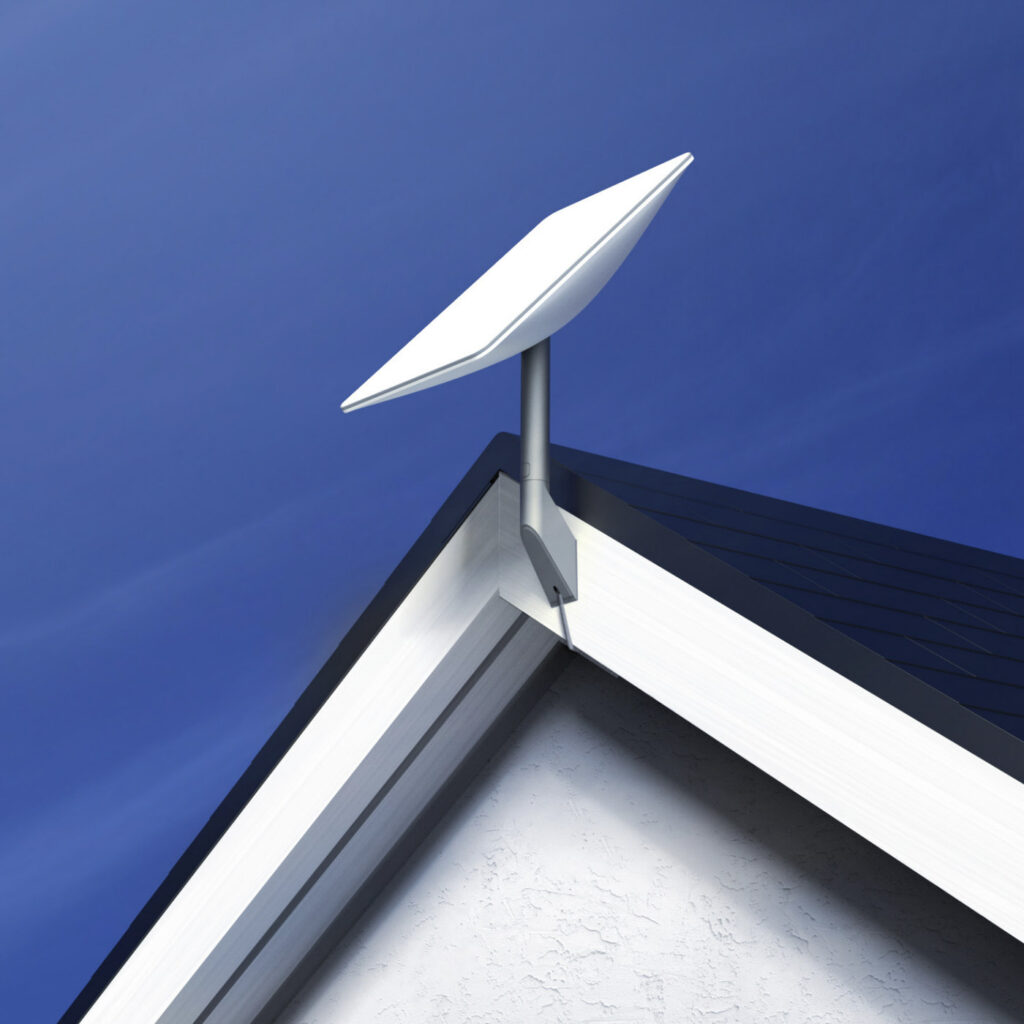
Rural areas often face challenges due to slow internet speeds and the need for a clear line of sight to the tower. Starlink, a satellite-based internet service, aims to address these issues. Here’s how we can assist you with your Starlink installation:
- Obstruction Assessment:
- During the installation process, Starlink prompts you to analyze potential obstructions. This step helps determine the optimal placement for your Starlink Dish (commonly known as “dishy”).
- Using the Starlink app, you’ll scan the sky with your phone camera to identify any physical barriers that might interfere with the signal. The app provides an estimated score and indicates the direction of obstructions (north, south, west, east).
- After installation, you can continue monitoring obstructions through the app’s ‘Stats’ page, which displays network metrics, including uptime and interruptions.
- Minimizing Obstructions:
- To enhance reliability, minimize obstructions as much as possible. Common obstacles include:
- Trees: Foliage and canopies can block the signal.
- Buildings and Hills: Solid structures obstruct the view.
- Nearby Antennas and Dishes: These can interfere with your Starlink dish.
- Position the dish away from chimneys, fences, and other solid objects.
- To enhance reliability, minimize obstructions as much as possible. Common obstacles include:

There are a few more items that you should consider when ordering you starlink.
- The line between the router and dish start at 50′. Do you have enough if you want to mount the dish. Maximum is 150′
- Do you have an existing network at home? While wireless speeds are improving, a hard wired network cable run at 1 Gigabyte per Second (1GBs). For example if you have more than 1 tv and 1 is in the living room and 1 is in the basement? Will the routers wireless be strong enough to cover both. If not you may want to order the starlink network adapter.
- Are you streaming Smart TV applications?
- Do you work from home and need to have online video meetings?


